Back to Teacher Guide
Workshop 5 10 minutes
Print & Scan Workflow
Sometimes you need paper-based tests - for exam practice, students without devices, or classroom tests. SudoStudy's Print & Scan feature lets you print quizzes, have students complete them on paper, then scan and upload them for automatic marking.
Quick Links
When to Use Print & Scan
Great for:
- Mock exams and timed assessments
- Classrooms with limited devices
- Students who prefer writing on paper
- Exam-style practice conditions
- Situations where screens are distracting
Consider digital instead for:
- Homework assignments
- Quick formative checks
- When instant feedback matters
- Large classes (scanning takes time)
The Print & Scan Workflow
Print QuizGenerate printable PDF
→
Students CompleteOn paper
→
Scan PagesUsing any scanner
→
UploadTo SudoStudy
→
Auto-GradeAI marks responses
1
Printing the Quiz
Steps:
- Go to My Quizzes in your subject dashboard
- Find the quiz you want to print
- Click the "Download Quiz" button on the quiz card
- A PDF file will be created that you can print
- Print copies for your students

Preview
What's included in the printed quiz:
- Quiz ID - this helps identify the quiz when you upload it for marking
- Student name field - a space where students write their name
- Student email field - a space where students write their email
- All questions - all the questions formatted for printing
- Answer spaces - spaces for students to write their answers
2
Students Complete on Paper
Hand out the printed quizzes and let students complete them.
Remind students to:
- Write clearly - the AI needs to be able to read their handwriting
- Write their name - in the space provided
- Write their email - in the space provided
- Stay within answer boxes - don't write in the margins
- Use a dark pen - pencil might not scan well
3
Scanning Completed Quizzes
After students complete the quiz, you need to scan or take photos of the pages.
Using a Scanner
- Use any flatbed or document scanner
- Scan at 300 DPI for best results (this is usually the default setting)
- Save as PDF or image files
- You can scan multiple pages into one file
Using Your Phone
- Use a document scanning app on your phone
- Make sure there's good lighting (no shadows)
- Keep pages flat and make sure you can see the whole page
- Check the Quiz ID and student email is clear before you upload
4
Uploading Scanned Responses
Steps:
- Go to Subject Dashboard
- Click "Grade PDFs" in the sidebar
- Drag and drop your scanned files into the box, or click to find the files on your computer
- Click on submit button to start the marking process
- SudoStudy will process and mark the responses automatically
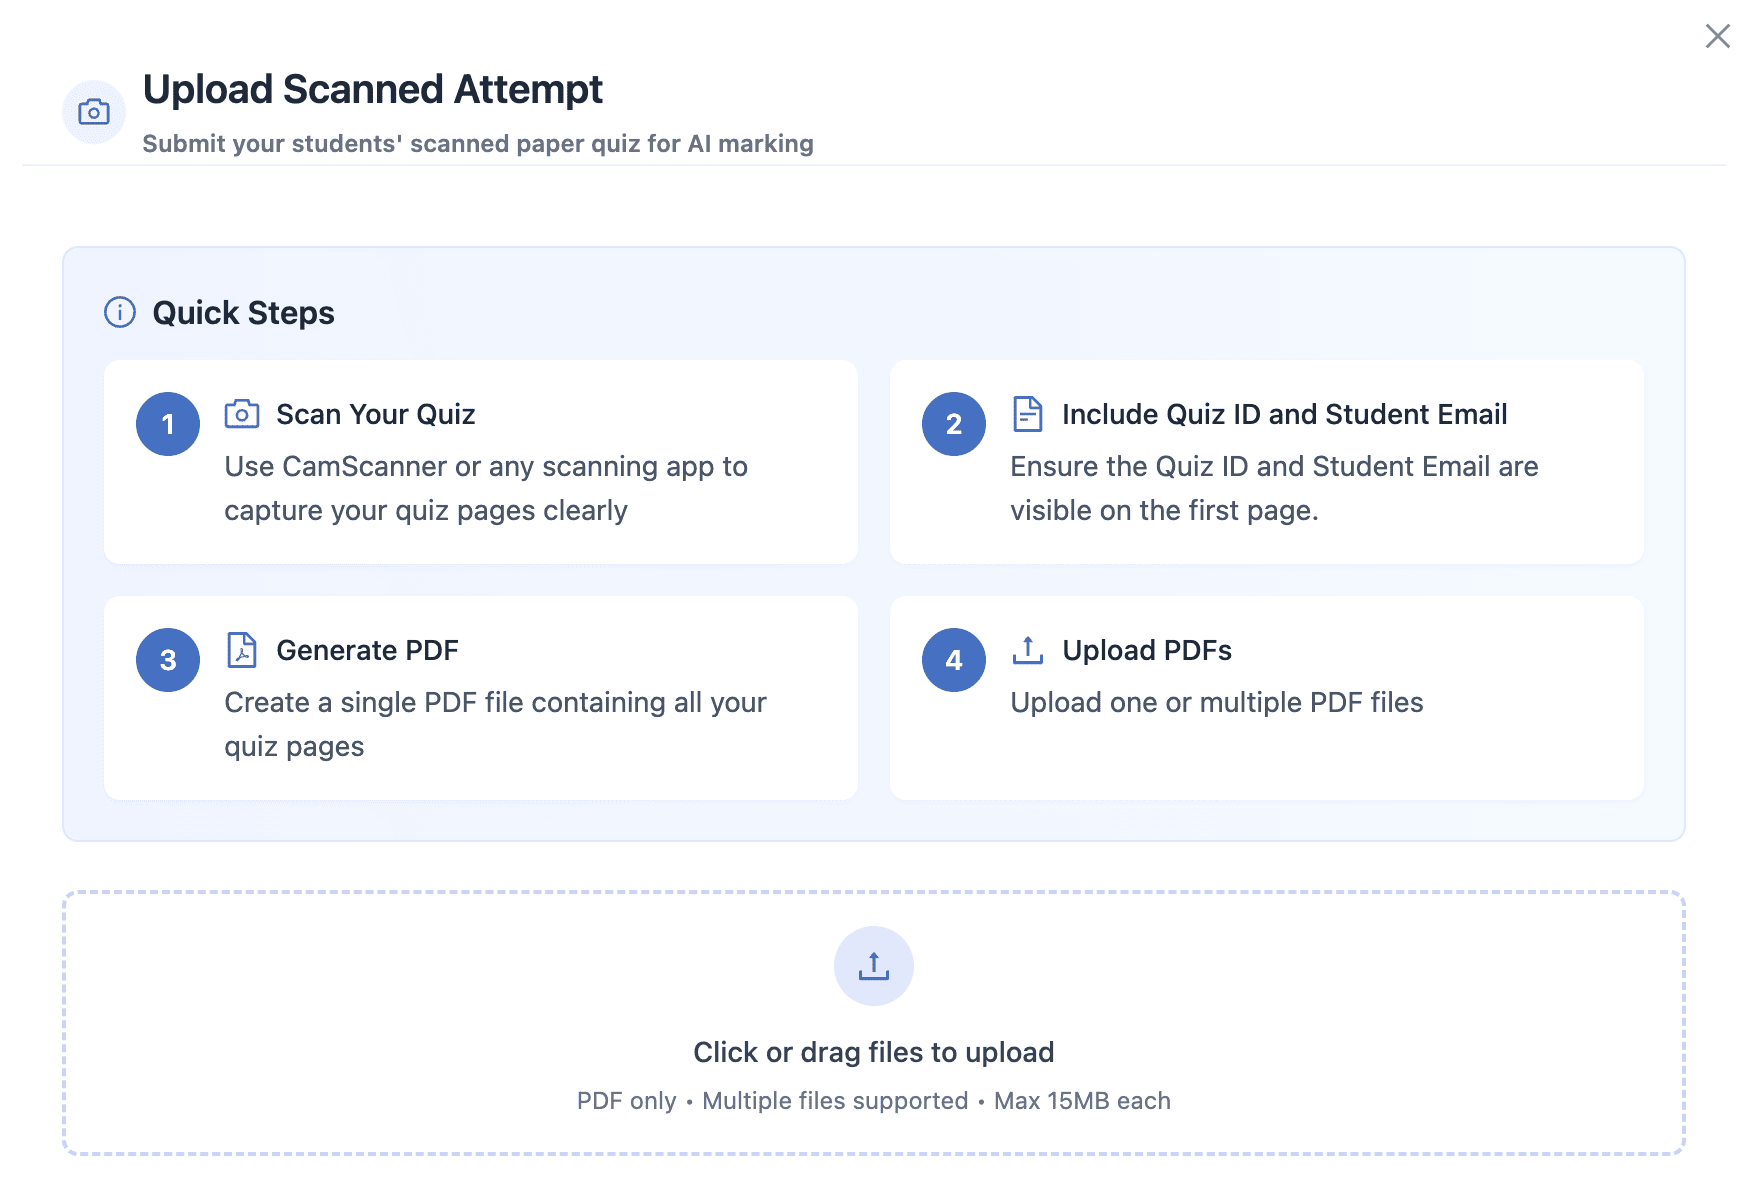
Preview
What happens after upload:
- The Quiz ID is used to identify which quiz it is
- The student's email is found
- AI reads and marks each answer
- Results appear in your quiz results
Troubleshooting
"Quiz ID not recognised"Make sure the Quiz ID is clearly visible, not cut off, and the scan quality is good. Try scanning again with better lighting.
"Student email not detected"Make sure the student’s email can be read clearly and has no spelling mistakes.
"Handwriting not readable"Very messy handwriting may need you to mark it yourself. Remind students to write clearly, especially for important exams.
Tips for Best Results
Before Printing
- Look at the PDF first to make sure it looks right
- Print one test page to check the quality
- Use good quality paper
During the Test
- Remind students to write clearly
- Keep spare copies ready
- Collect papers carefully (don't fold them)
When Scanning
- Scan a few at a time to make it easier
- Check Quiz ID and student email are visible
- Use the same lighting for all scans
After Upload
- Check the AI-marked responses
- Make sure no pages were missed
- Change any marks if you need to