Back to Teacher Guide
Workshop 4 10 minutes
Managing Classes & Students
Organise your students into classes (groups) to make it easier to assign quizzes. You can also invite new students to join your school.
Quick Links
What Are Classes?
Classes (also called "Student Groups") let you organise students into groups. This makes it easy to:
📋
Assign Quizzes
Assign to an entire class at once📊
Track Progress
View class-wide performance🎯
Stay Organised
Mirror your real class structureCreating a New Class
Steps:
- Go to your Subject Dashboard
- Click on "Student Groups/Classes" in the navigation
- Click "Create Group" or the "+ New Class" button
- Enter a class name (e.g., "Year 10 Biology", "Period 3")
- Click "Create"
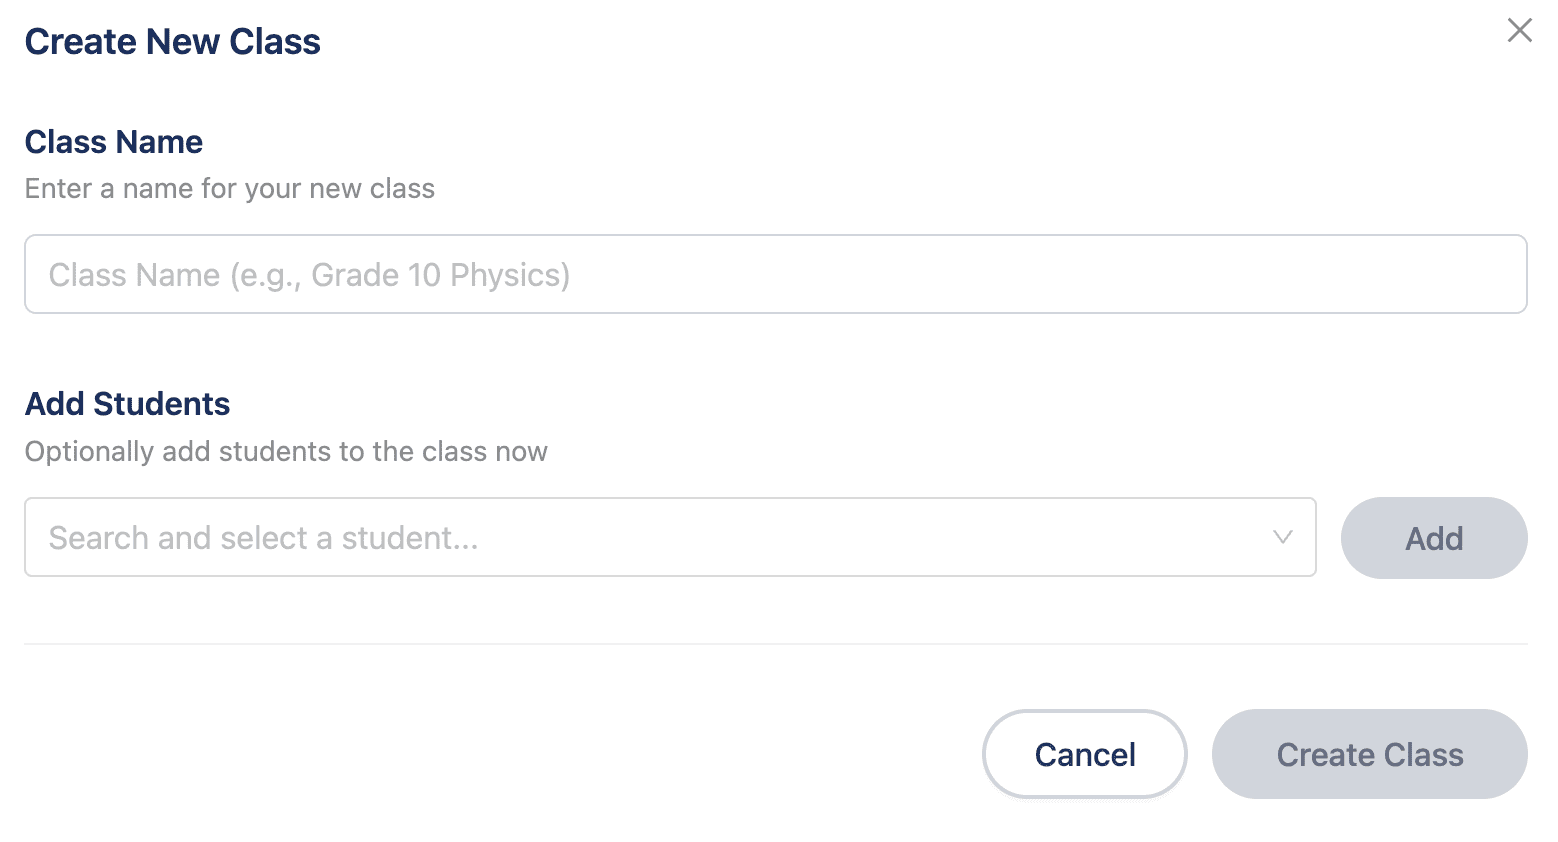
Preview
Adding Students to Classes
Once students have joined your school, you can add them to classes.
Steps:
- Go to "Student Groups/Classes" in your subject dashboard
- Find the class you want to add students to
- Click "Manage" or the "Edit" button on the class
- Use the search box to find the students you want
- Check the box next to each student you want to add to the class
- Click "Save"
Managing Class Membership
Add StudentsCheck the box next to students to add them to the class.
Remove StudentsUncheck the box to remove a student from the class.
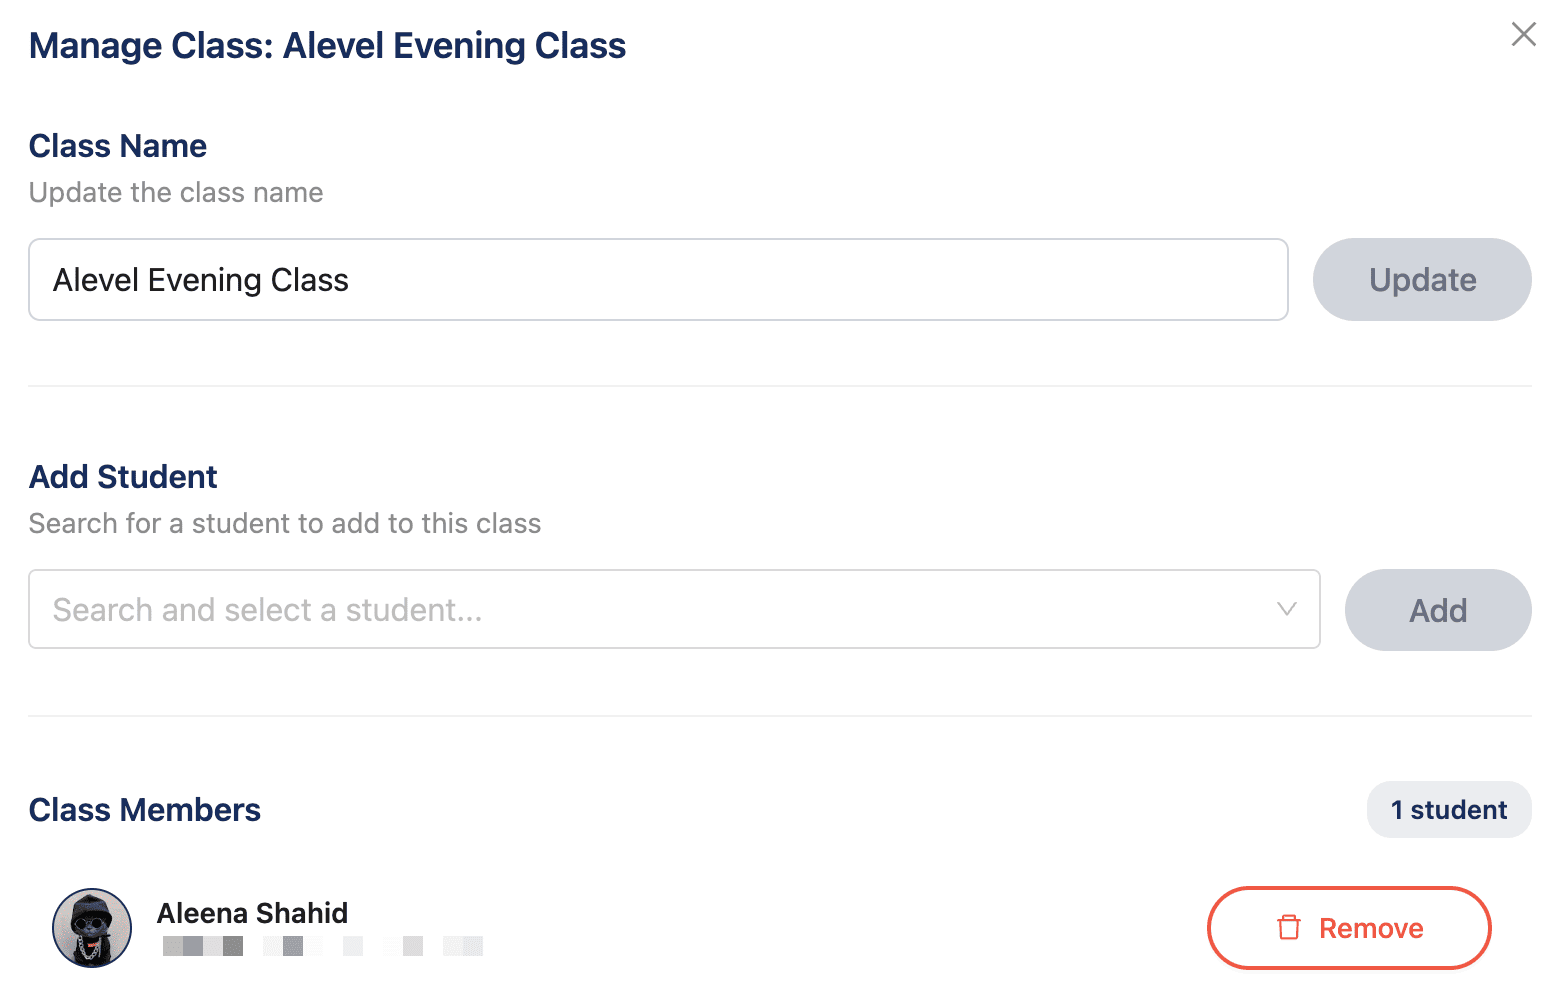
Preview
Inviting New Students to Your School
There are two ways to get new students into your school:
Quiz Link (Automatic)
When students use a shareable quiz link, they're automatically added to your school.
This is the easiest way - you don't need to do anything extra!Invite Link or QR Code
Invite students using a link or QR code.
Best for adding students before you assign quizzes to them.How to Invite Students:
- Go to "Student Groups/Classes" in your subject dashboard
- Click "Invite Students"
- Copy the invite link or scan the QR code
- Share the link with the students
Editing & Deleting Classes
Edit Class Name
- Click on the class
- Click "Edit" or the pencil icon
- Change the name
- Save your changes
Delete a Class
- Click on the class
- Click "Delete" or the trash icon
- Confirm that you want to delete it
Best Practices
Mirror your real class structureCreate classes that match your real teaching groups so everything is organised the same way.
Use clear naming conventionsInclude the year group, subject, and set or period. For example: "Y11 Biology Set 2".
Keep classes updatedRemove students who have left and add new students as soon as they join.